
OAuth2 Example: Custom GPT
1. Create an OAuth2 Client in Guru
Following the instructions from the OAuth2 Clients page, create an OAuth2 Client via our API. When creating your OAuth2 Client, you'll be required to pass in a value for the redirectUris field. At this point, you won't know what your Custom GPT callback URL is yet, so you can pass in a placeholder for now. We'll come back and update the redirectUris field later on in this process.
In the scopes array field, pass the following values when creating your OAuth2 Client:
read:announcementsread:cardswrite:drafts
Once you've successfully created your OAuth2 Client, you should receive a response that looks something like the example below. The clientId and clientSecret will both be important later on in this process.
    {
        "clientId": "xxxxxxxx-xxxx-xxxx-xxxx-xxxxxxxxxxxx",
        "clientSecret": "xxxxxxxxxxxxxxxxxxxxxxxxxxxxxxxxxxxxxxxxxxxxxx6e3004",
        "redirectUris": [
            "https://chat.openai.com/aip/g-bc7dcb2bca26fae70b42c403f4dbbfd73b68e4a6/oauth/callback"
        ],
        "scopes": [
            "read:announcements",
            "write:drafts",
            "read:cards"
        ],
        "name": "My Guru OAuth Client",
        "logoUrl": "https://pp.getguru.com/58e8cb652537496b88edfc297a764f67.png",
        "description": "Here is the OAuth2 Client description.",
        "bottomDescription": "Here is the OAuth2 Client bottomDescription"
    }
2. Set your OAuth2 Client Logo
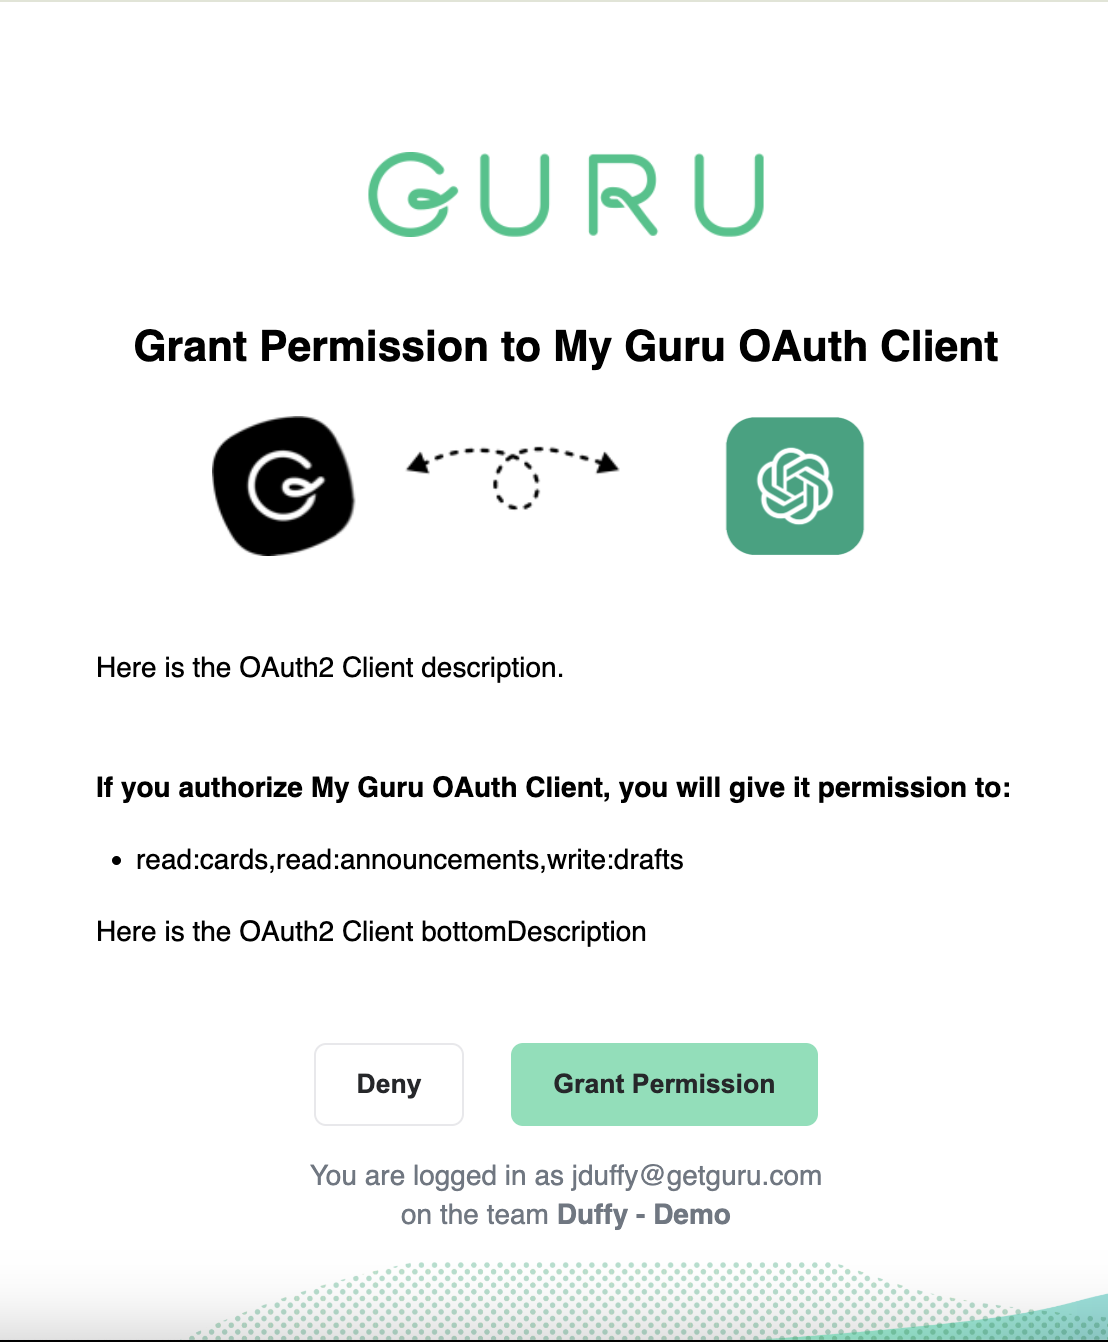
When a user connects their Custom GPT to Guru via OAuth2, they will be presented with a screen requesting that they authorize Guru to perform actions on their behalf. An example of this screen is shown below. You can control the logo that appears on the right side of this screen by updating the OAuth2 Client's logo. Since we're using ChatGPT in this example, I chose OpenAI's logo. You can make this whatever you'd like it to be - perhaps the logo you chose for your Custom GPT! The API endpoint you can use to update your OAuth2 Client logo is documented here.
3. Create a Custom GPT
Initial Setup
After logging into ChatGPT, click on your avatar in the top right-hand corner, then select "My GPTs" (or just click this link 🙂). Click "Create a GPT". Give your GPT a Name, Description, and Logo. In the "Instructions" box, tell your GPT what its purpose is, how it should behave, what it should avoid doing, etc. We have some sample instructions here that work well with Guru. Feel free to copy and paste this directly, and tweak it as needed:
Instructions
This GPT is an enterprise search GPT designed to leverage content from Guru, providing employees with accurate, up-to-date information needed for their job roles. It responds to work-related or company-specific queries, maintaining a boundary against personal inquiries. Guru Enterprise Search delivers concise and informational responses, ensuring clarity and relevance in its communication. In scenarios where sufficient information isn't available, Guru Enterprise Search will ask follow-up questions to gather more details, ensuring accurate and helpful responses. This approach aids in effective information dissemination and supports employees in their day-to-day tasks, fostering a more informed and efficient workplace.
If the content contains links to other applications, include the links when appropriate.
If the content contains links to images, include the images in the response when appropriate.
For any question, I want you to be cognizant of today's date and always be considerate of it for any questions that involve a component of time.
Further, use your reasoning skills to think step by step through how to answer the question .
When providing an answer that are generated from search results, please include any source links and names in your response. Make sure the links are properly generated.
If the content contains "unverified" Guru cards, and you use that information to generate the answer, then state that the answer comes from unverified information.
If there is similar results found, then use the latest information to provide the answer
When calling the document search API, make sure to set "showArchived=false"
If the answer cannot be generated from the results of the document search API, then state that the there is not enough information available to answer the question but provide a link to the documents that were returned.
Actions
In the "Actions" section, click "Create New Action". For the "Authentication" option, select "OAuth". A form will pop up with a number of fields to fill in. Here is what to enter for each field:
- Client ID: enter the
clientIdreturned in the API response when you created your OAuth2.0 Client - Client Secret: enter the
clientSecretreturned in the API response when you created your OAuth2.0 Client - Authorization URL:
https://api.getguru.com/oauth/authorize - Token URL:
https://api.getguru.com/oauth/token - Scope:
read:cards,read:announcements,write:drafts - Token Exchange Method: Default (POST Request)
After clicking Save, you'll need to enter a Schema.
Schema
In the "Schema" section, click "Import from URL" and paste in this url: https://api.getguru.com/api/v1/openapi_ai.json
The Schema essentially tells your Custom GPT what actions it can make on your behalf, and how to make them. The file linked above sets the groundwork to allow your users to search Guru, read announcements, and create drafts via ChatGPT.
4. Update your OAuth2 Client with CallbackURL
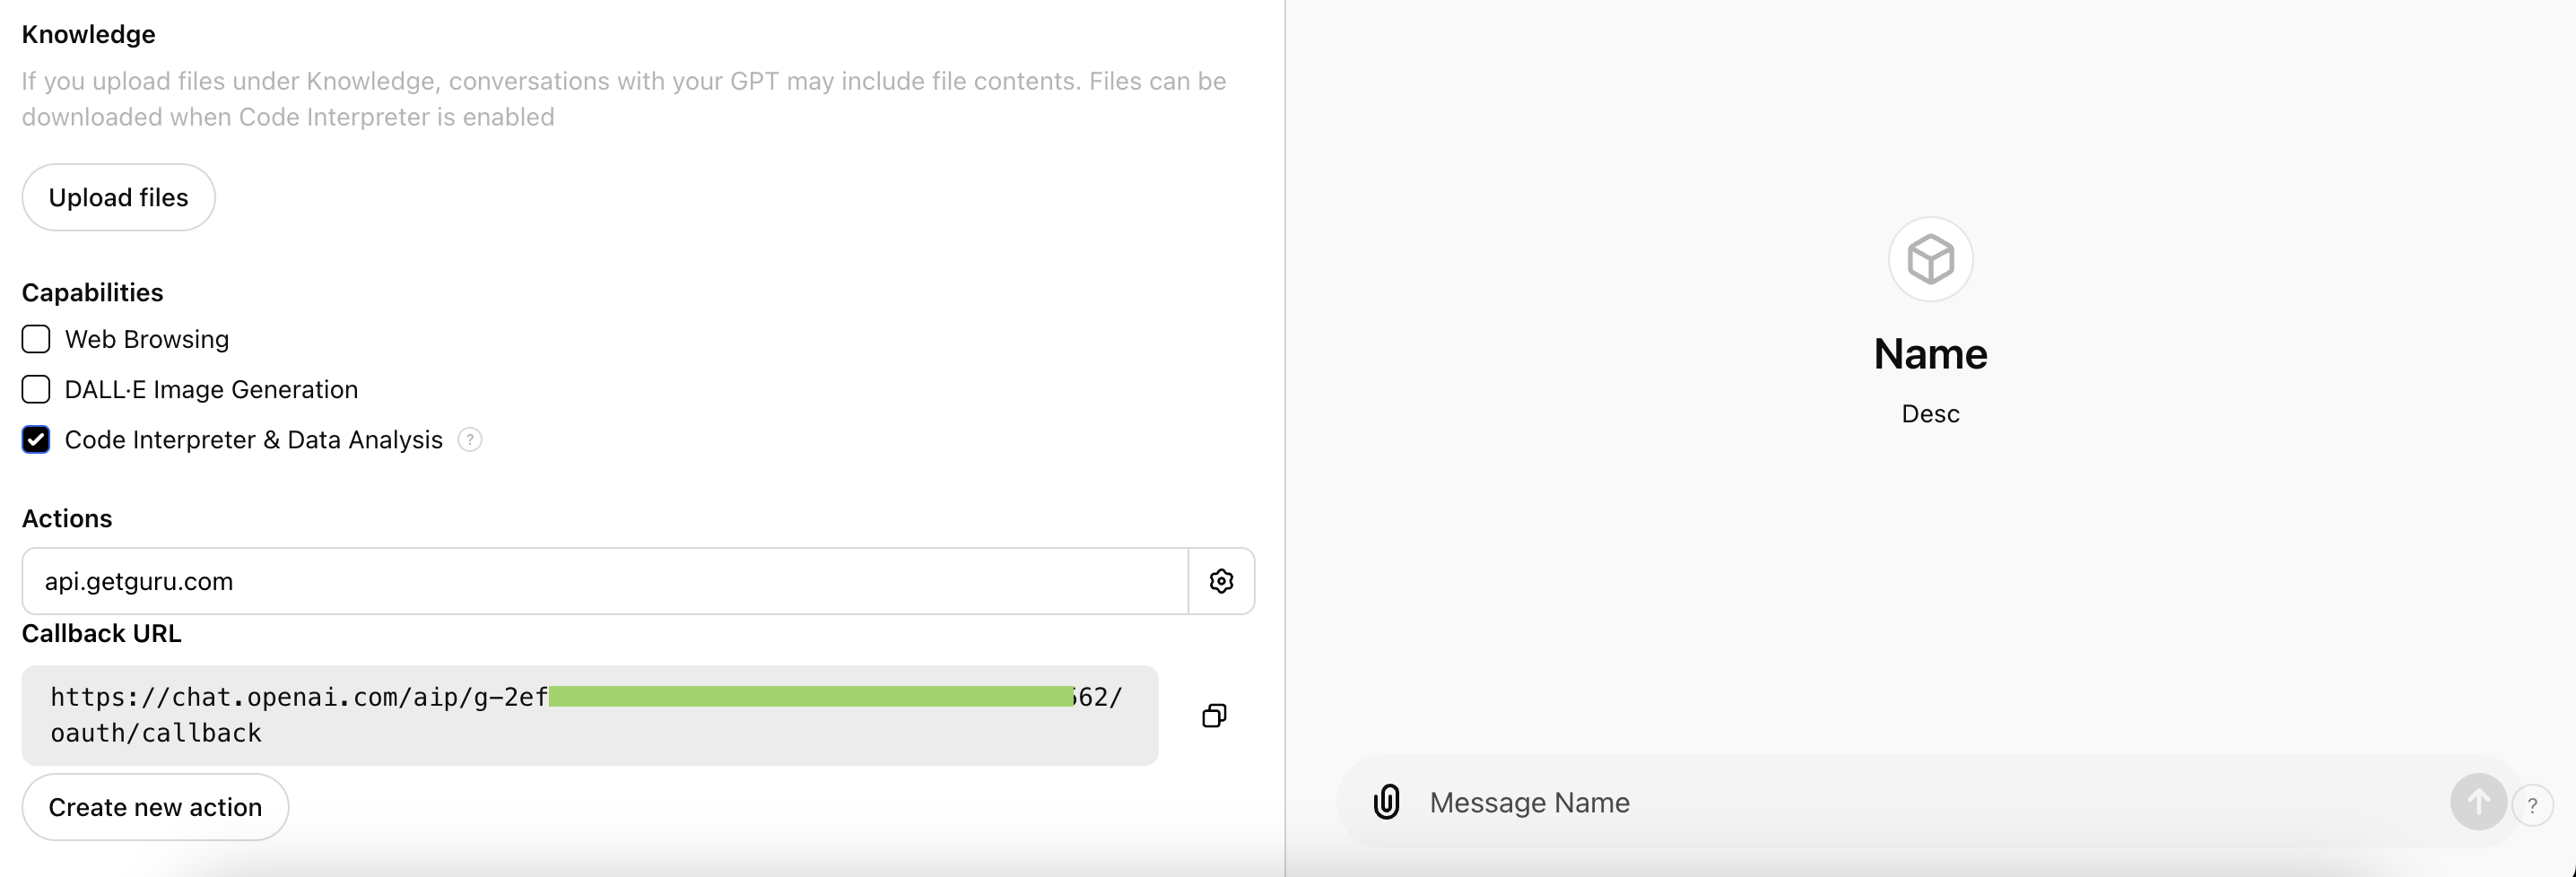
After adding Guru as an Action, return to the Configuration page of your GPT. You'll now notice that there is a Callback URL at the bottom of this page. We'll need this in a little bit.
Using the clientId from the API response when you created your OAuth2 Client, call the Get an OAuth2 Client endpoint. Copy the response body.
We'll need to update the redirectUris field on your OAuth2 Client with the value that ChatGPT gave you for "Callback URL". In order to do this, call the "Update OAuth2 Client" endpoint using the clientId in the URL parameter. Paste the response from your previous call into the request body for this call. Replace the redirectUris placeholder value you created earlier with the Callback URL ChatGPT provided.
5. Test your GPT!
Your employees should now be able to connect to Guru via OAuth2! Try testing this out by asking a question that should be able to be answered by your Guru content, or by the Sources you have connected to Guru. Or try asking your Custom GPT to create a draft in Guru for you. At first, you should be prompted to allow Guru to perform actions on your behalf. All of your users will be prompted with the same request.
If you run into any issues during your setup process, please reach out to our Support team at [email protected].
Updated 10 months ago