Collection Exports
Setting up collection exports can be useful for a number of different scenarios - a business continuity plan being one of them! This guide will walk you through how to set up a collection export process that backs up your data, and allows you to take action with it through iPaaS solutions such as Zapier or Workato.
1. Capture a List of Your Collections
Using your User Token, make a GET request to our Collections API endpoint. This will give you a list of the collections that you have access to. Remember, depending on how many collections you have access to, you may have to paginate through the results.
curl --location --request GET 'https://api.getguru.com/api/v1/collections' \
--header 'Authorization: Basic {insert hashed email|token}'
2. Configure a Trigger in Your Workflow
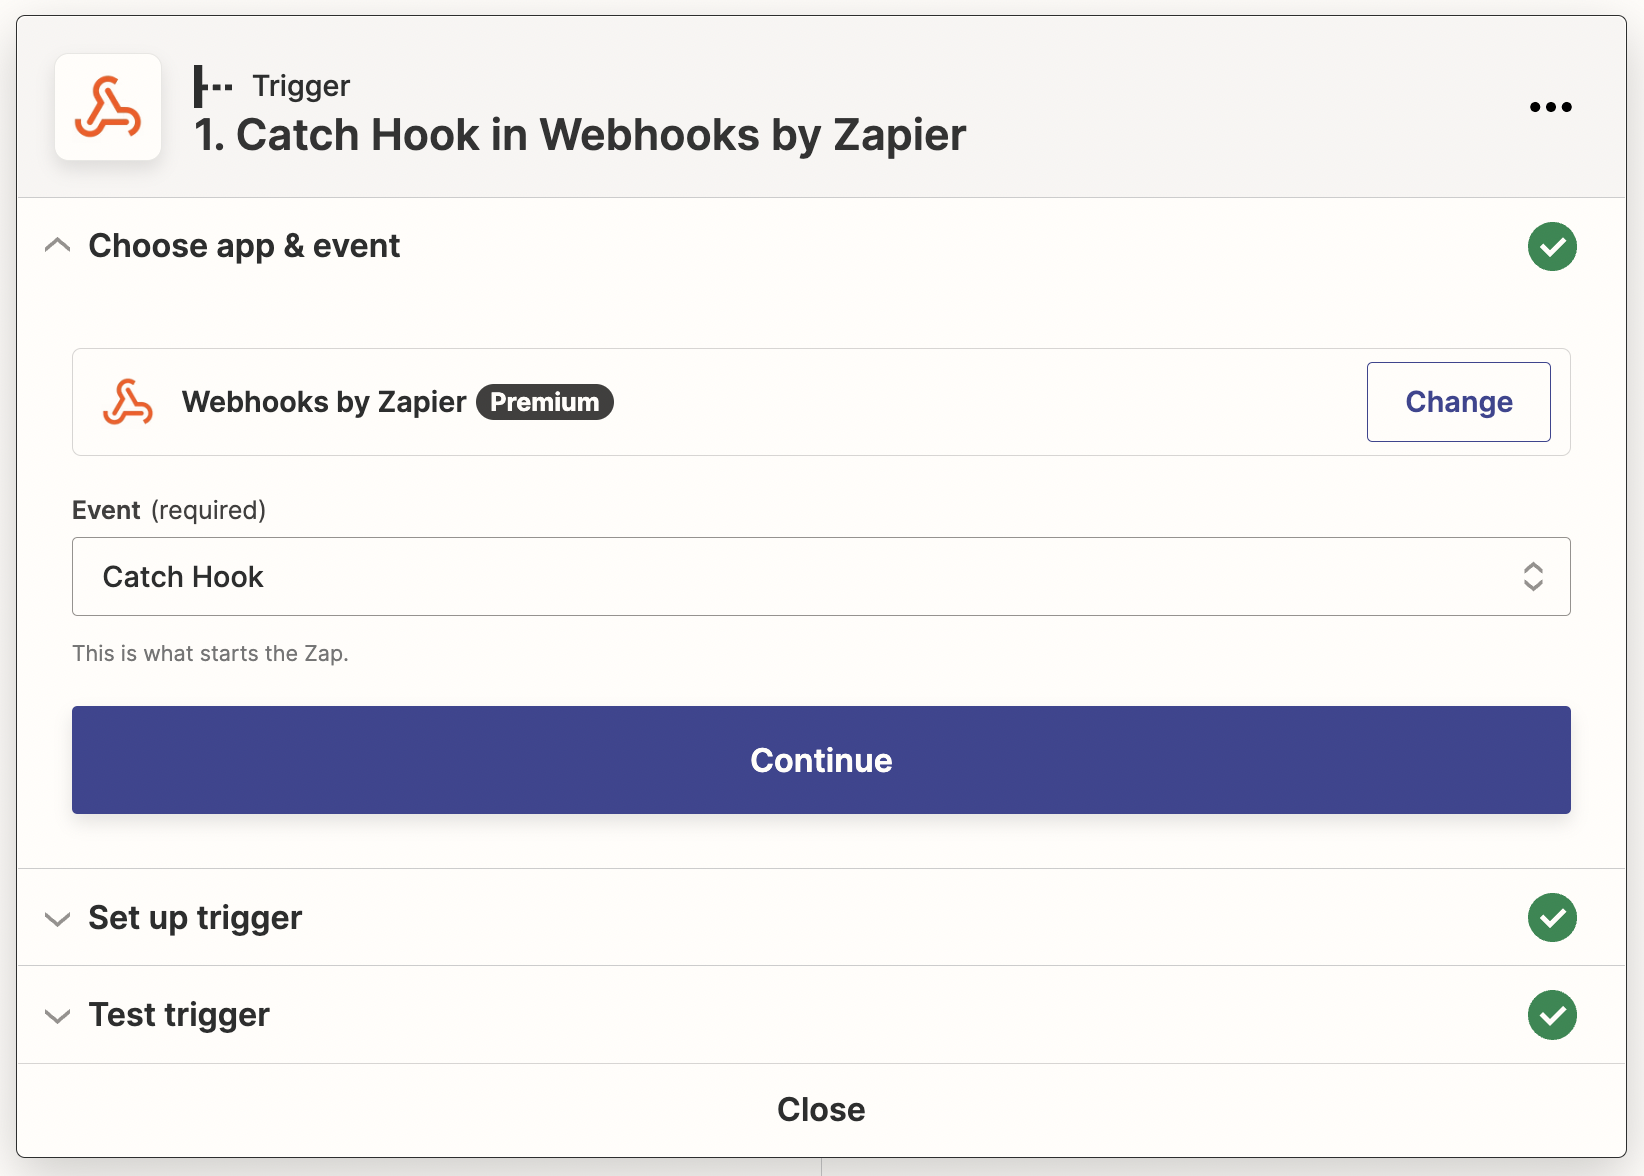
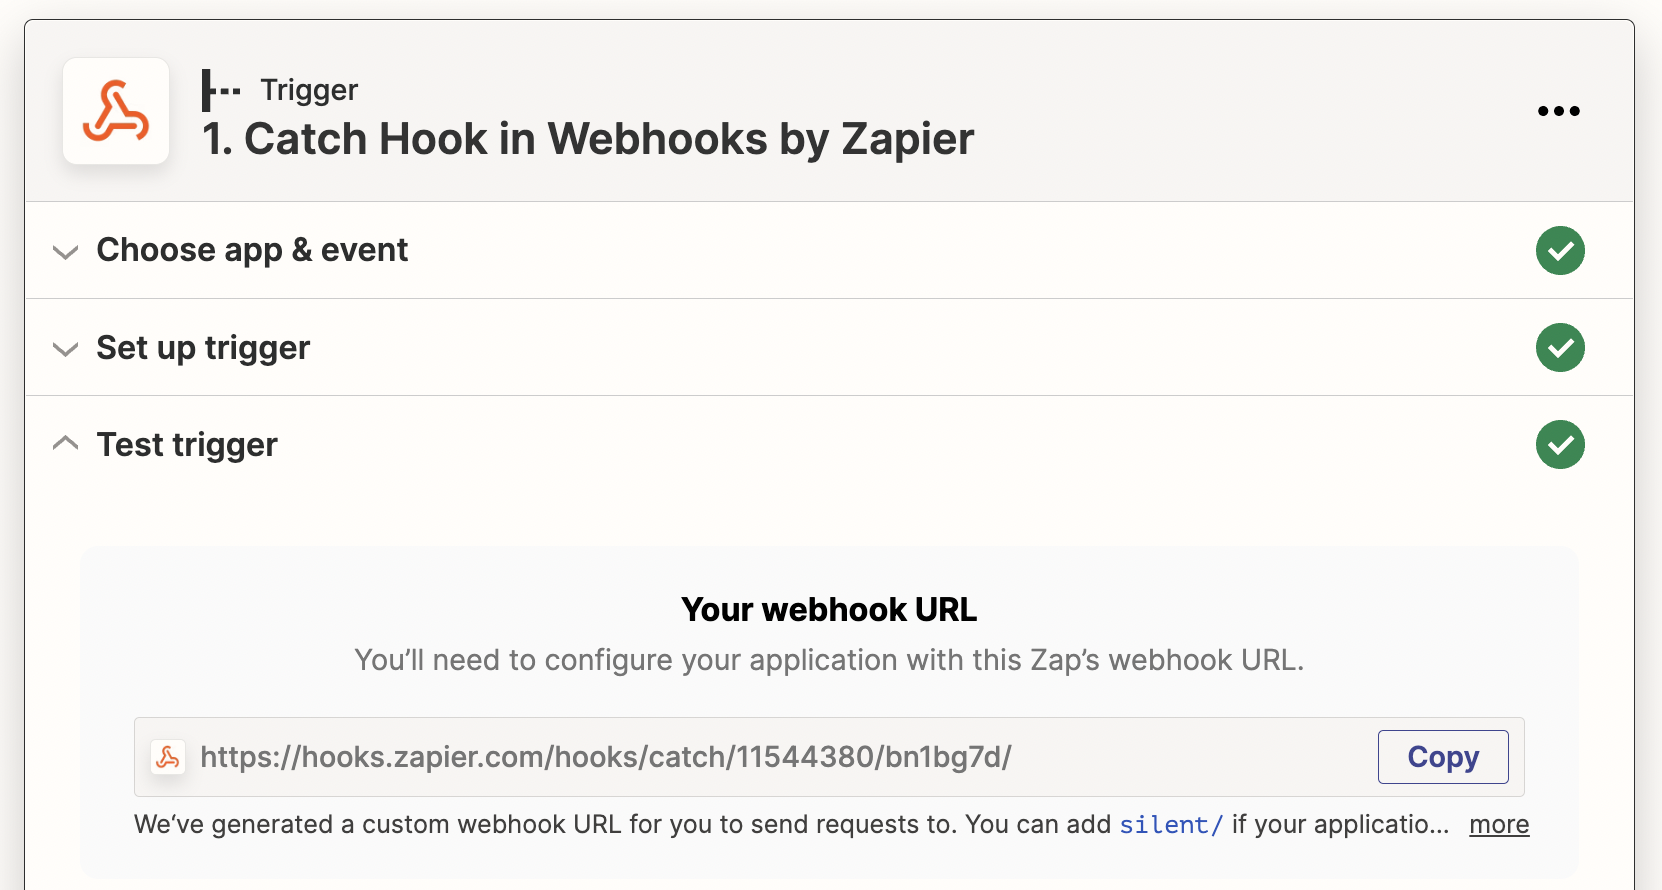
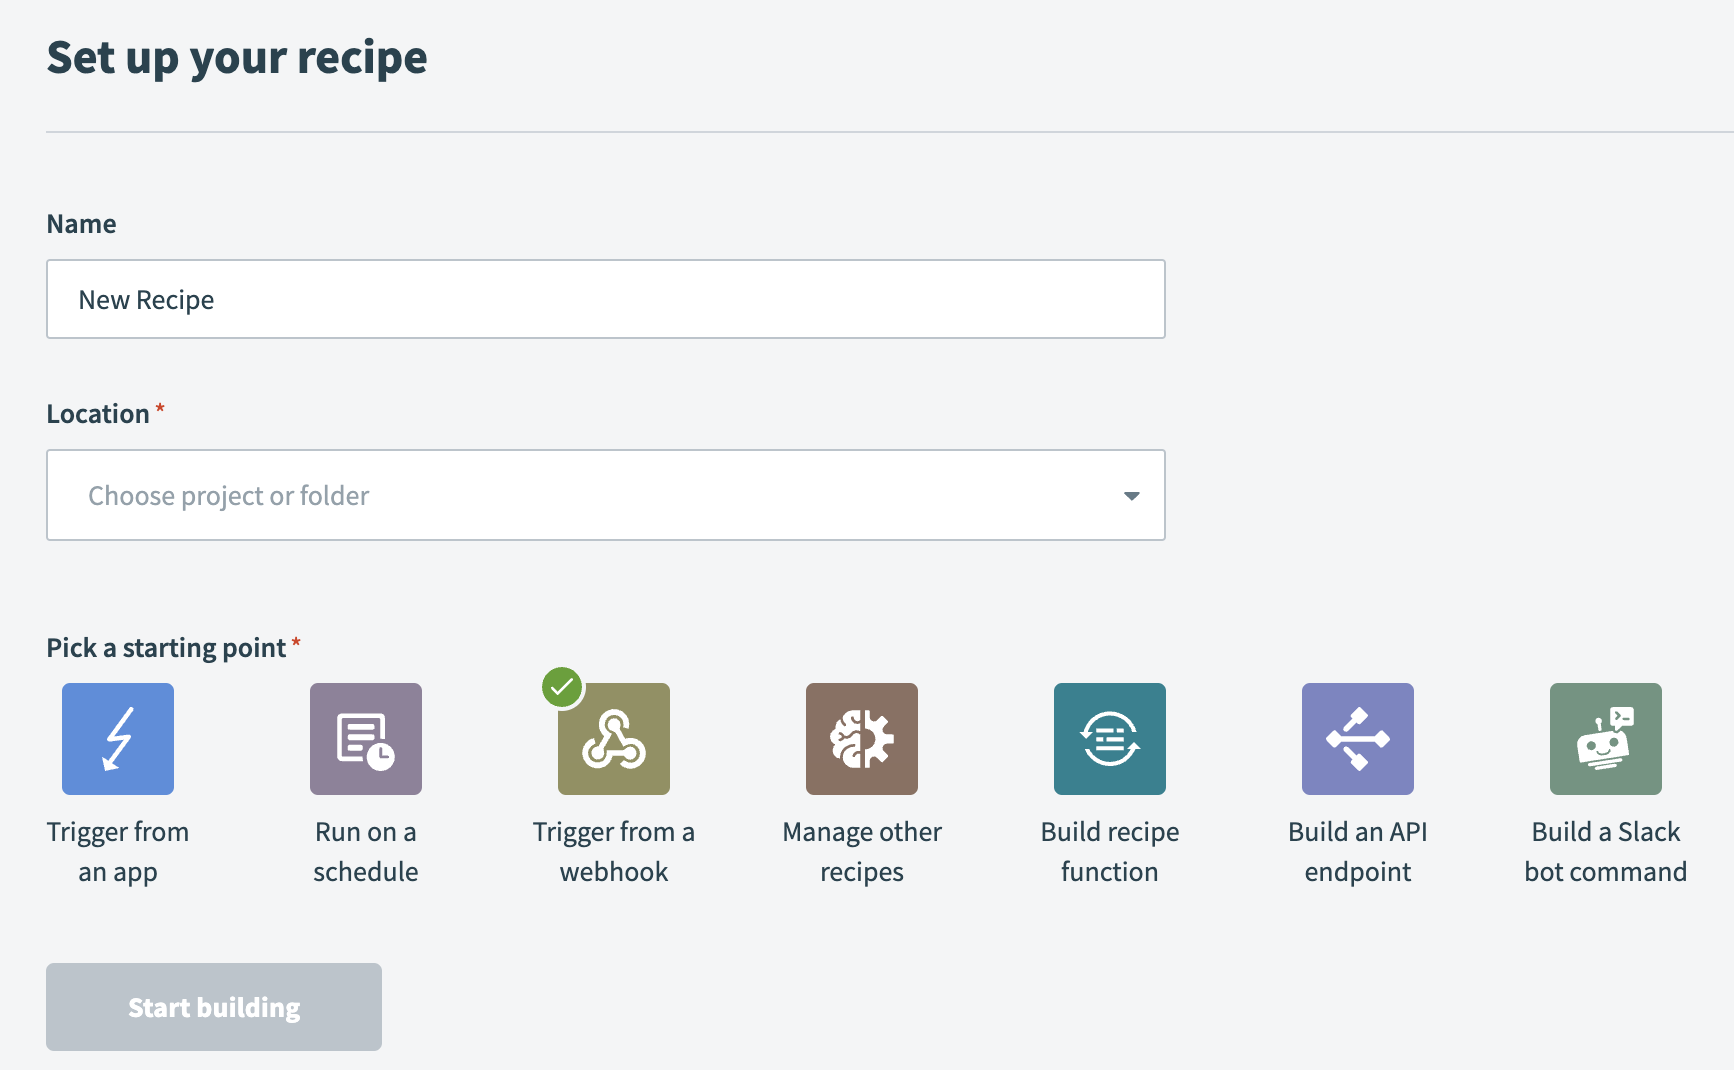
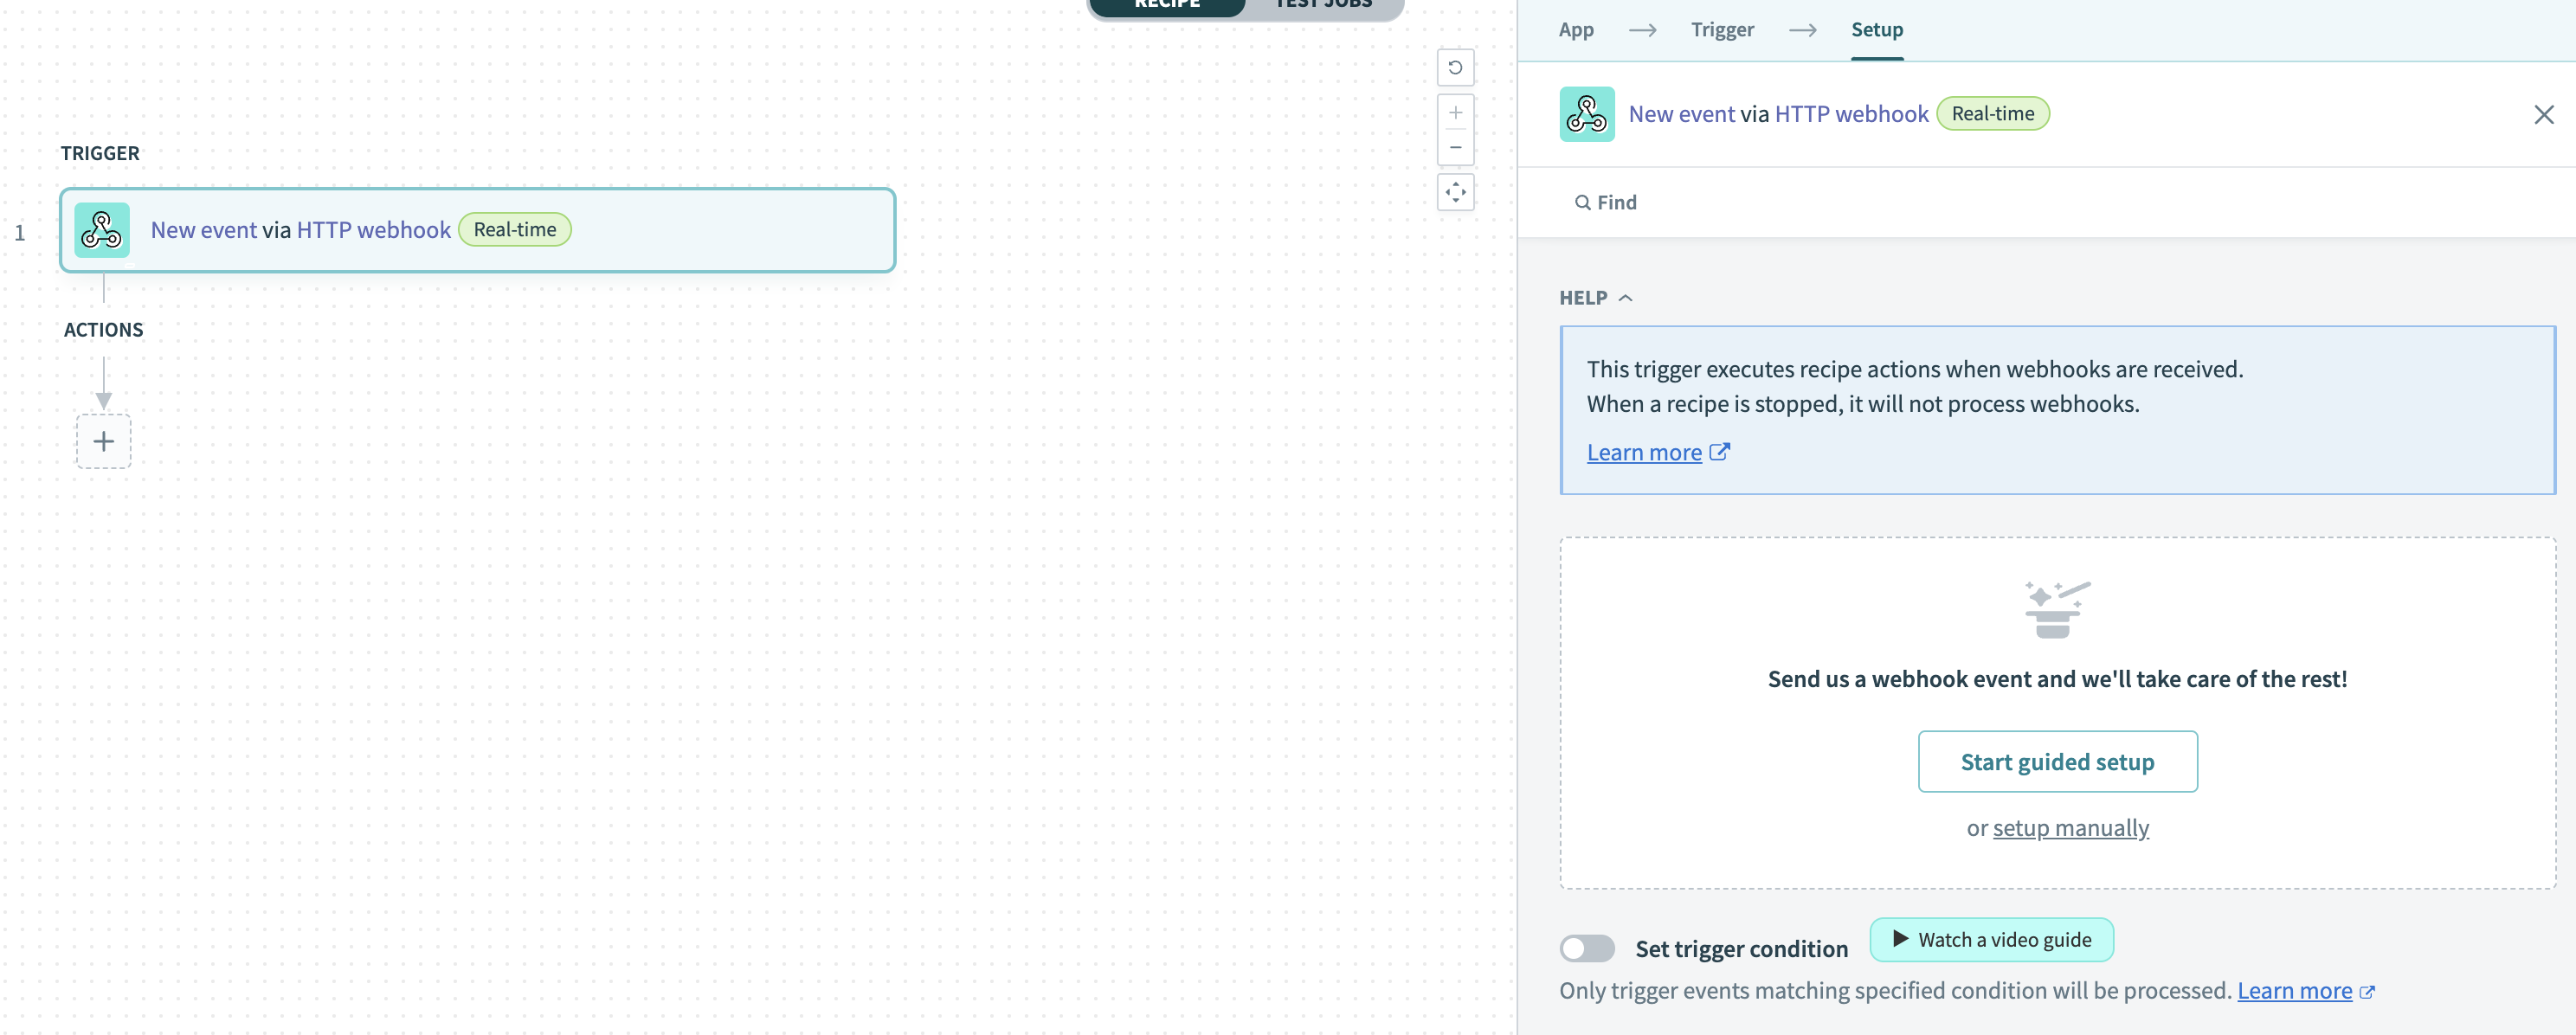
There are many ways to do this step - the screenshots below show you how to do this through Zapier or Workato.
Zapier Instructions


Workato Instructions


3. Initiate Your Collection Export(s)
Now that you have a list of the Collections you have access to, loop through that list and make a POST call to Guru's Collection Export API endpoint.
curl --location --request POST 'https://api.getguru.com/api/v1/collections/{collectionId}/export/advanced' \
--header 'Authorization: Basic {insert hashed email|token}' \
--header 'Content-Type: application/json' \
--data-raw '{
    "notificationEndpoint": "{insert your webhook URL}",
    "type": "export-collection"
}'
This API call kicks off a job that exports the Collection into a .zip file. When the job is complete, we will notify the webhook URL you specified in the body of the request. This is what the payload looks like:
{
    "exportUrl":"https://content.api.getguru.com/files/dn/600f7a86-ea60-4580-b0ff-ce46c457e780",
    "status":"EXPORTCOMPLETE",
    "collection": {
        "name":"Customer Support",
        "id":"6990ea4d-9c40-449b-8666-0eaf41d225df",
        "color":"#FF8A65",
        "assistEnabled":"false",
        "description":"Knowledge support agents need to be helpful resolving issues, managed by the Support Leadership team.",
        "collectionType":"INTERNAL",
        "dateCreated":"2022-02-09T22:02:00.599+0000",
        "collectionTypeDetail":"FRAMEWORK",
        "slug":"vrl13/Customer-Support",
        "roiEnabled":"false",
        "publicCardsEnabled":"true"
    },
    "jobId":"97c9da7f-fa42-427c-b6c7-307b1f3f5981",
    "querystring":null
}
4. Download the Exported Collection
The exported collection is stored at the "exportUrl". You can call this endpoint to download the .zip file. You will need to authenticate with the same credentials you use for any other Guru API endpoint.
Once you have the .zip file, you can do anything you'd like with it - such as upload it to a folder on Google Drive, publish it's content to an external site, etc.
Here is the structure of the contents within the .zip file:
Directory Structure
/
  cards/
    card1.yaml
    card1.md
    card2.yaml
    card2.html
  folders/
    folder1.yaml
		folder2.yaml
  resources/
    Image1.png
    mycoolsalesdeck.pdf
  collection.yaml
Root Directory
The root directory contains all of the content for the Collection.
A collection.yaml file in the root directory is used to summarize the tag/tag category information in the import. A sample collection.yaml file is below
collection.yaml:
Tags:
- Tag1
- Category:Tag2
Cards
Individual cards are saved in the cards directory with a unique file name. For each card, there is a metadata file and a content file which should have the same file name part with different file extensions. The metadata file is stored in yaml format and contains the card’s title and any tags that should be on the card. The content file can either be markdown (using the .md file extension) or html (.html file extension).
A sample card metadata and content is below:
card1.yaml:
Title: Card Title
Tags:
    - Category:Tag1
    - Tag2
- Tag3card1.md:
# Markdown header

And whatever content you want
This is read
In
Raw
So all
Newlines
Are preserved
Referencing Other Cards, Folders and Resources
Board Groups, Boards, Resources and other Cards are referenced in card markdown/html content by utilizing the regular link syntax, but using the appropriate directory name and card/board/board group/resource ID as the actual link.
For example: cards/card1 references card1
folders/folder1 links to folder1
resources/image1.png links to image1.png
# Markdown
This is a [card link](cards/card1) and this is a [folder link](folders/folder1)
This is an image:

This is a PDF link
[PDF link](resources/mycoolsalesdeck.pdf)Folders
Title: Folder Title
Description: |
  Multi line
  Description
  here
Items:
- ID: "card1"
  Type: "card"
- Type: "section"
  Title: "My Section"
  Items:
  - ID: "card2"
    Type: "card"
Updated 4 months ago
